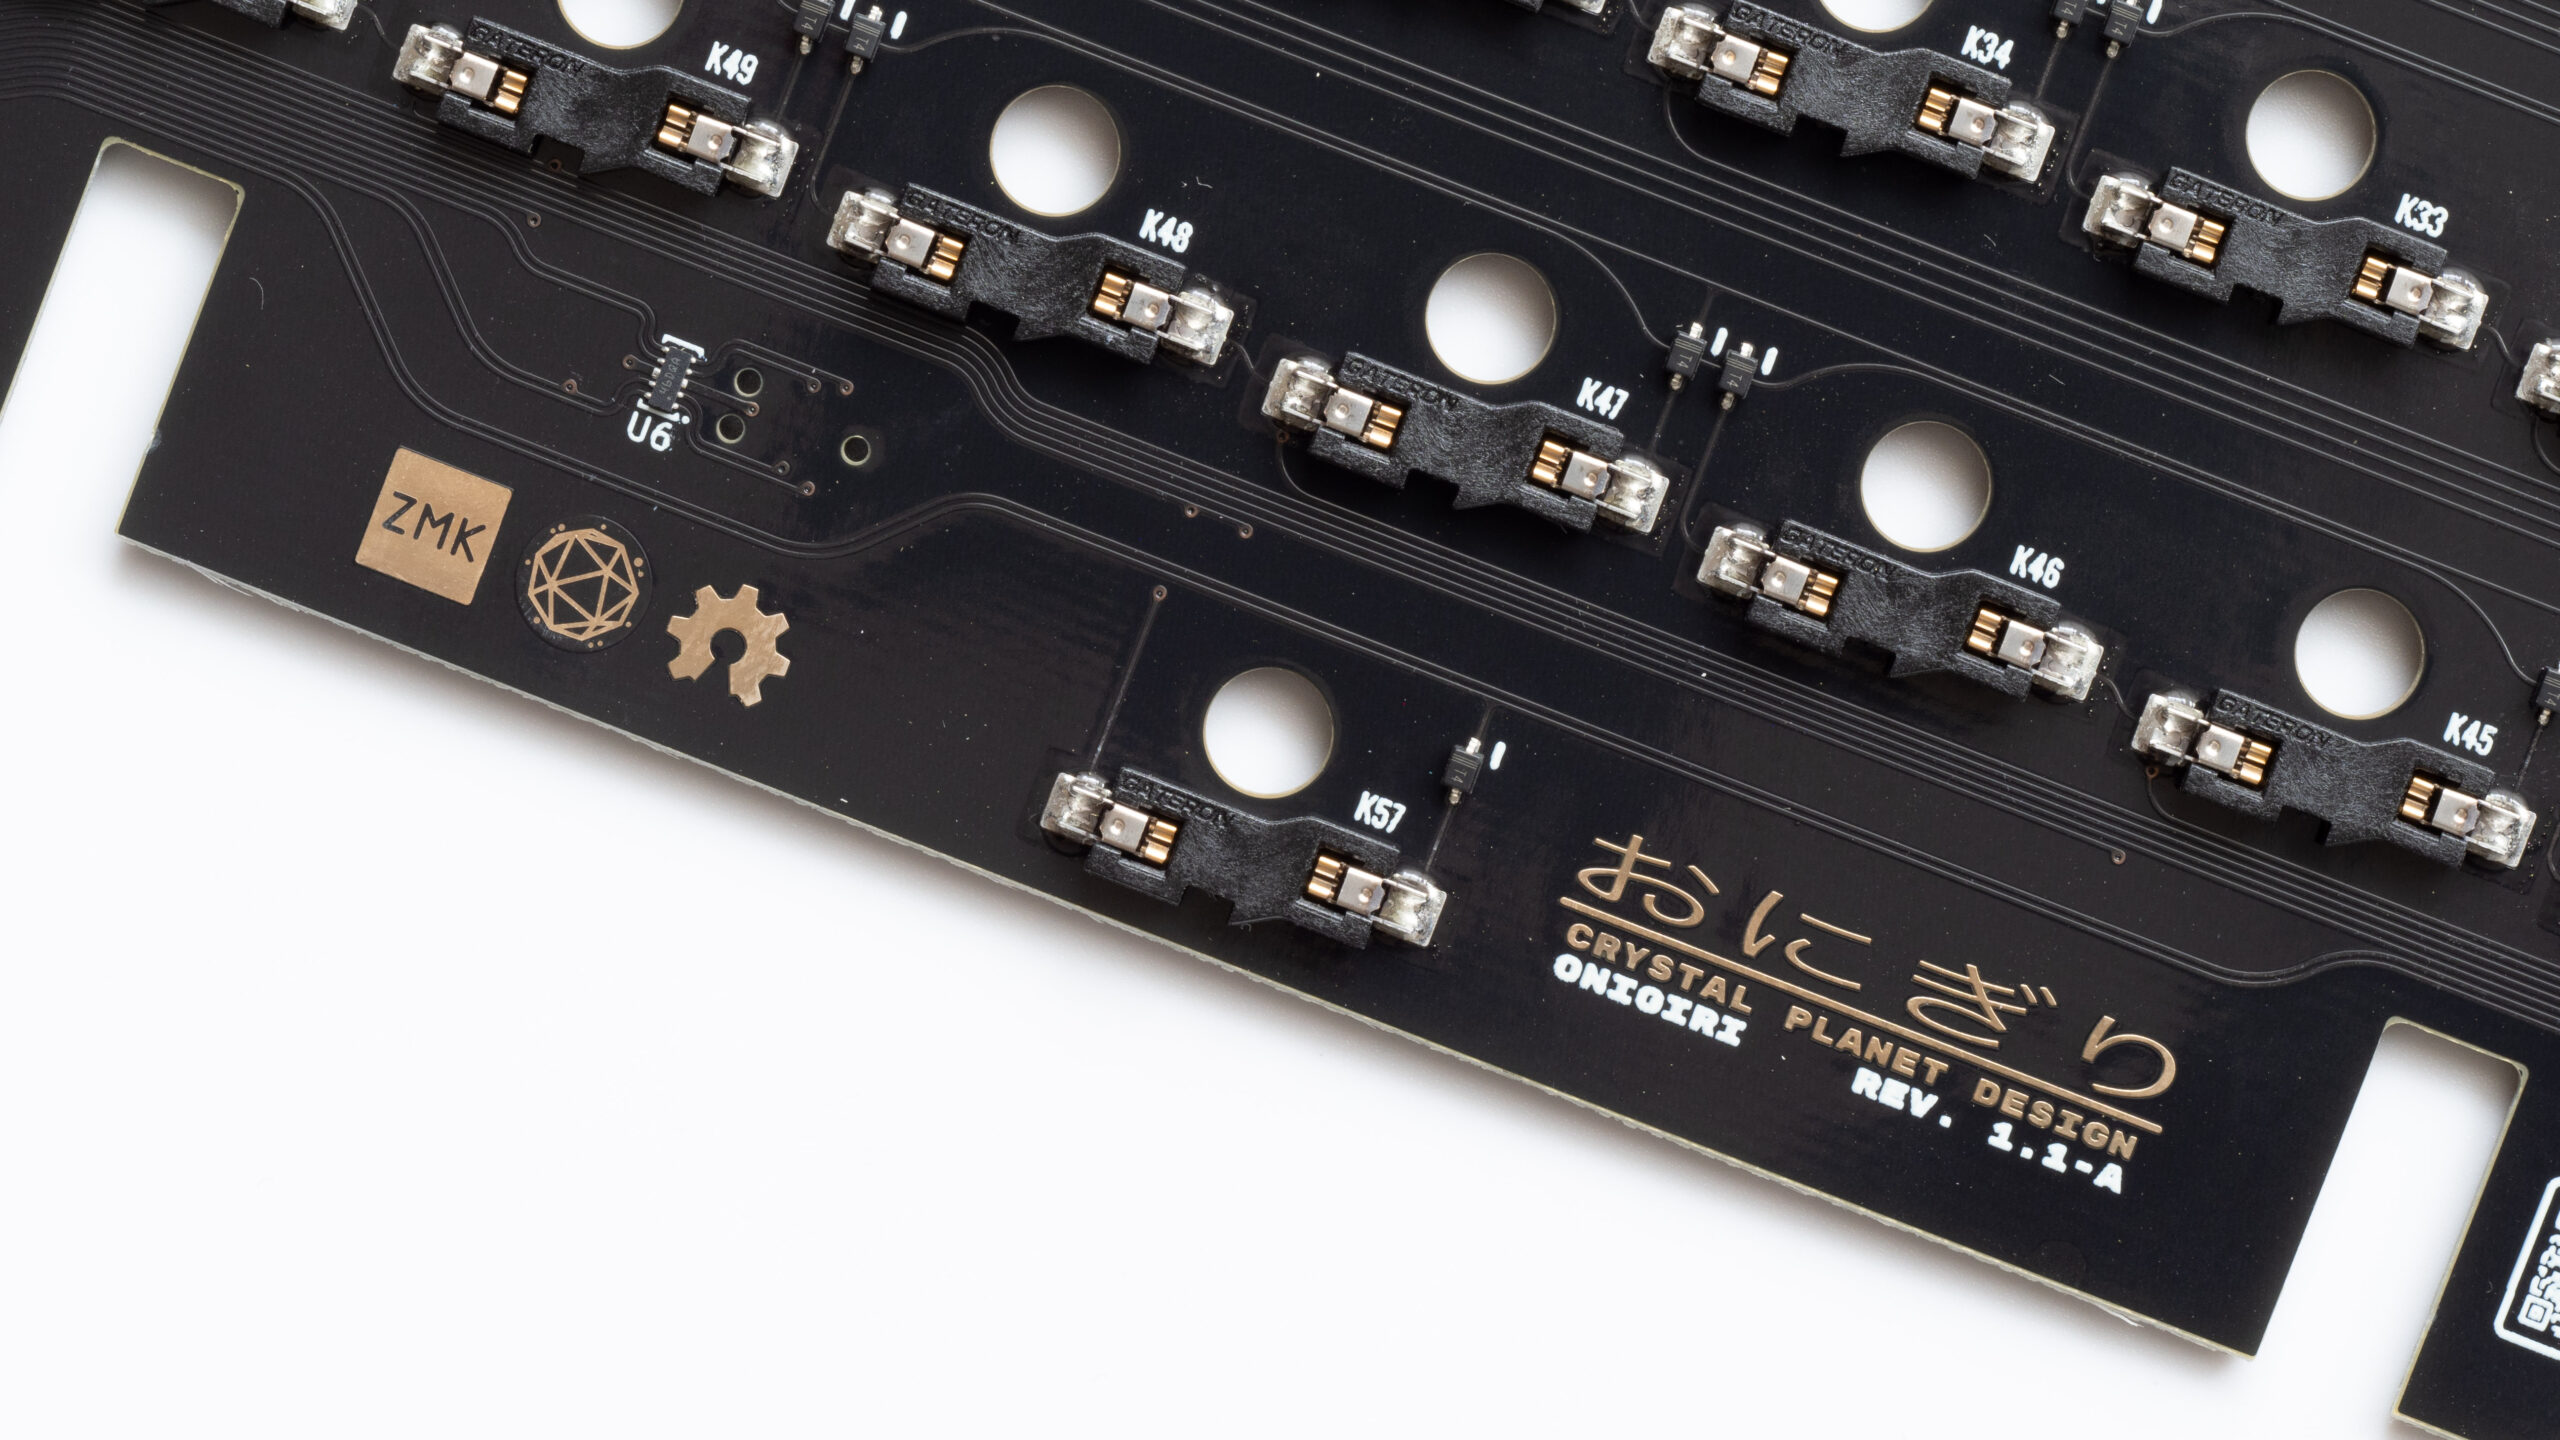
Hi, curious tinkerers and fellow keyboard enthusiasts! With the final PCB prototypes for the Onigiri in hand, I thought it’d be the perfect time to dive into what makes it special and the thought process behind its design.

The Heart of the System: nRF52840
At its core, the board is built around the proven nRF52840—a popular choice for ZMK-powered keyboards and countless commercial products worldwide. Chances are you already have one or more of these in your house. What makes it special? It’s a tiny powerhouse! Its advanced hardware handles both the system and wireless communication in a single package, combining powerful performance with exceptional energy efficiency.

While wireless chips come with their own set of challenges and requirements, those were largely overcome by relying on a module. A pre-configured, pre-certified, plug-and-play implementation of the chip that’s guaranteed to be compliant with regulations.
Unsung Hero: Power Delivery
Similar to how good power supplies are the unsung heroes of any PC build, none of the circuitry inside a keyboard matters if it can’t get stable power. On the Onigiri, this comes from either USB or the Li-Po battery – neither of which an ideal source. Because of this, power flows through a carefully chosen regulator that steps it down to the correct voltage with 95% efficiency. In PC terms, that’s the equivalent of 80+ titanium rated power supplies or simply, as good as it gets.

The battery also needs to be charged. This is done with the help of a dedicated controller, overseeing the process from start to finish. The maximum charge current is set to 400mA, meaning it will take 5 hours to charge the 2000mAh battery from empty to full. While it may seem like a bit of a downside in this day and age when we’re all used to fast charging, it’s actually the optimal setting for maximizing battery lifespan. And you can still use it while it’s charging, in either wired or wireless mode! It also keeps the keyboard fully within the standard USB specification.
A Light Show Without the Heat
And now for the pièce de résistance, the LED strip. It’s easily the most power hungry part of the circuit – making up for 70-90% of the total power draw when in use. Any gains here can extend the battery life significantly.
For this reason, I opted against smart LEDs like WS2812 or SK6812 which are very convenient to work with but consume a lot more power than the current maximum, even when they’re off! Instead, the board uses common-anode RGB LEDs, all controlled by a single external chip (IS31FL3743A). Thanks to this, the maximum system current draw never exceeds 50mA for an absolute minimum on-time of 40 hours with all LEDs set to full brightness. In reality, this means you should easily get as much as 80-120 hours when running regular animations and/or effects spanning the entire strip.

And more
Daughterboard that’s electrically compatible with the Unified Daughterboard, easily accessible debug interface with its own ESD protection, soft shutdown, anti-ghosting and hot-swap. Every feature was thoughtfully designed, down to the smallest detail.
Whether you’re looking for a feature-packed, bulletproof keyboard, a platform for tinkering and hacking, or just a cool display piece, the Onigiri PCB delivers on all fronts!

Stay tuned for more updates!


Leave a Reply